


We hear you, you’ve asked for it, so it’s finally here! Glam Seamless Hand-Tied wefts! The same amazing quality hair you love and trust now available in a hand-tied weft! Get excited #GlamFam this brand new product will be hitting our website this winter! ❄️
Hand-tied wefts are perfect for individuals who love the idea of having, thick, luxurious hair but are concerned with the idea of the extensions peeking through. These extensions, similar to machine tied wefts, are installed the same way, but have a more seamless look and feel, perfect for those with thin hair. But what exactly makes it different? We’re here to answer all your questions!
Hand-Tied vs. Machine-Tied?
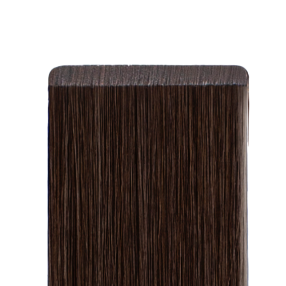
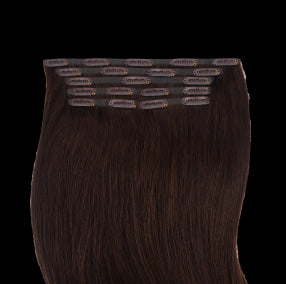
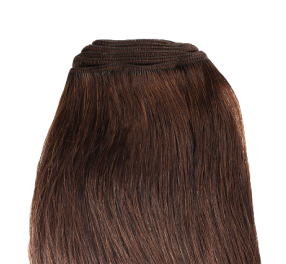
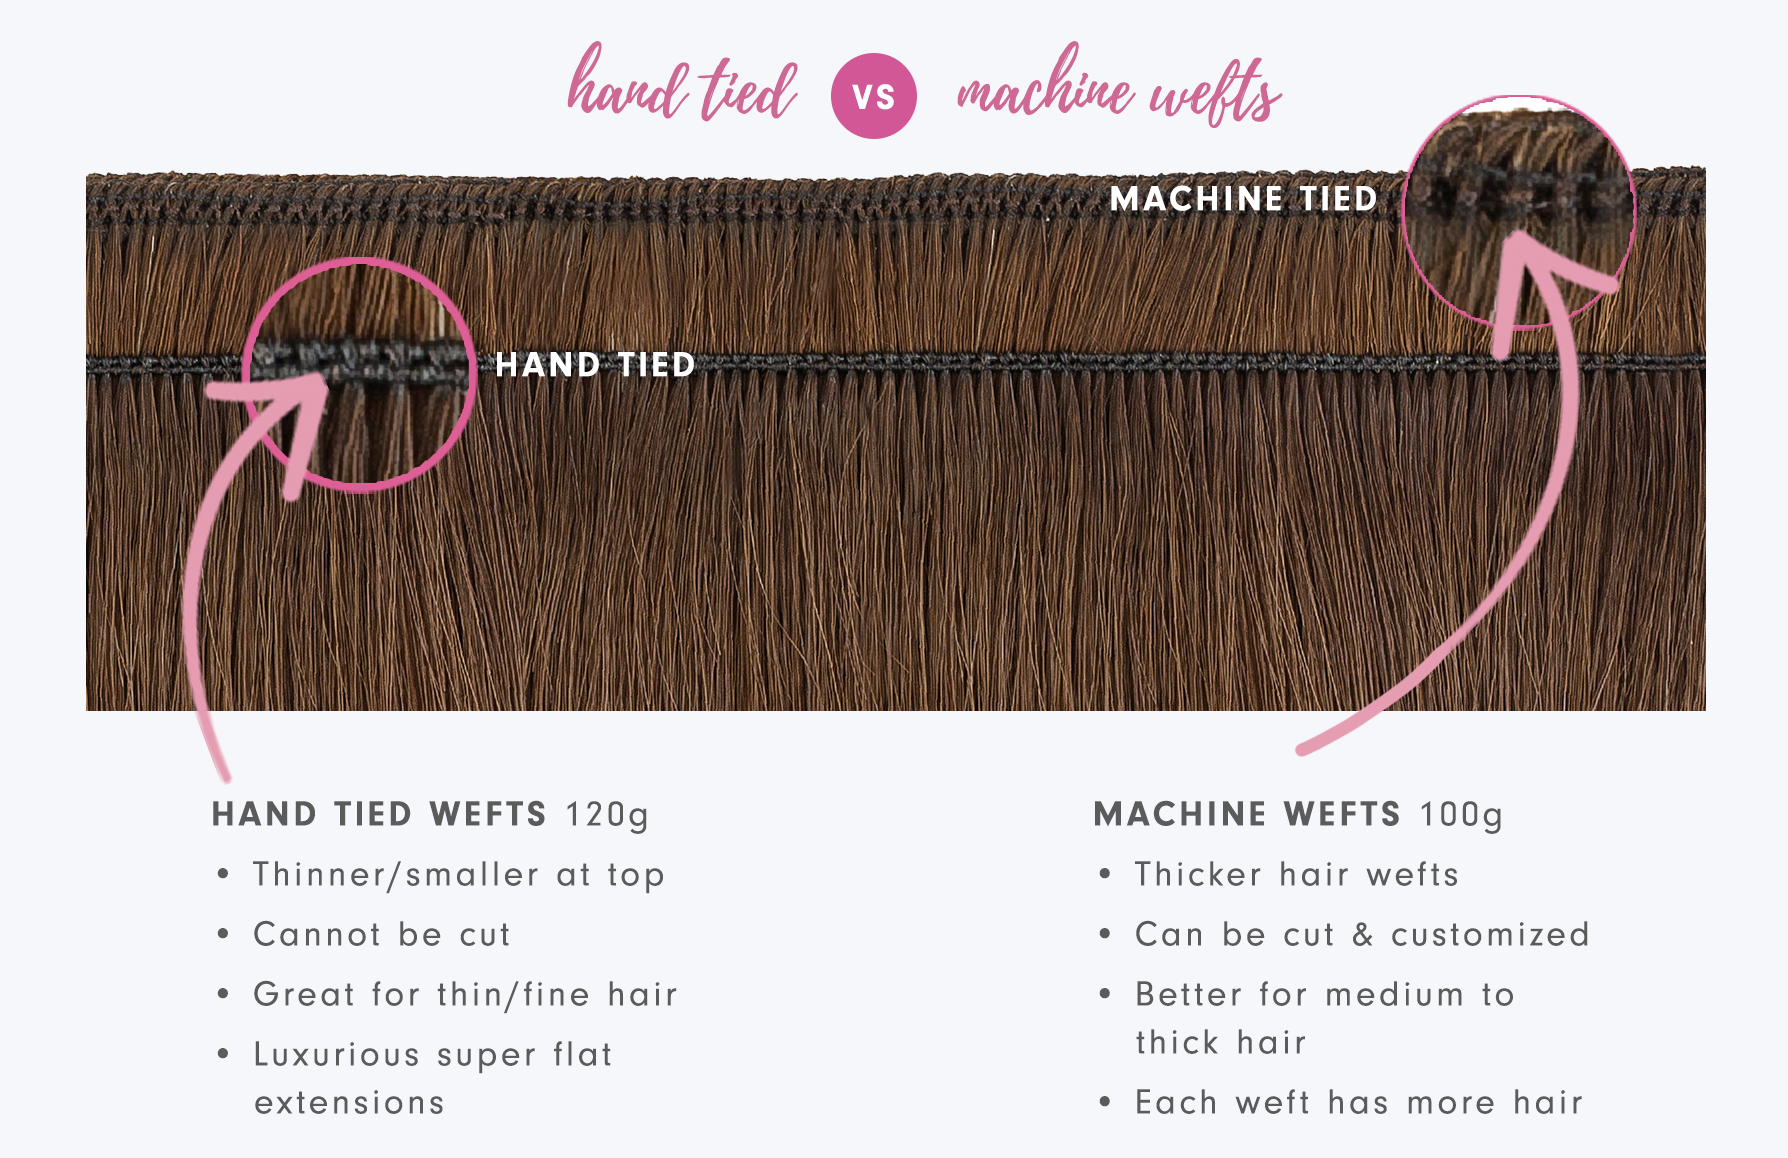
Hand-Tied wefts are exactly what they sound like! The hair is woven together by hand by an actual person by hand, giving each weft custom attention; creating the absolute thinnest weft possible! They are SO seamless because they are hand made and extremely flat, making them good for those with fine or thin hair! Having them created by hand is what makes them so seamless. Please note that because they are tied they cannot be cut to any desired length, you have to purchase them at the correct length. If you cut hand-tied wefts they will unravel, so if you do cut them it is important to seal the ends with a strong liquid glue such as our Liquid Tape! A machine-tied weft is fed through a machine and weaved tightly into the seam, similar to how a sewing machine works providing a thicker weft at the top.
Why Hand-Tied Wefts?
Due to their seamless look, hand-tied wefts are perfect for those with extremely thin hair, they are easier to blend into your natural hair, and harder to detect if someone touches your head. Another great aspect of hand-tied wefts is because a human is tying them together, they are more likely to stay connected to the weave, so your hand-tied wefts will fare longer and stay as full as they were when they were first purchased. Also, in terms of the removal process, hand-tied wefts are typically installed with the braid less sew in technique. This means that there is absolutely no use of harmful chemicals or heat, they leave ABSOLUTELY NO residue and can be moved up or removed completely in a pinch!
How do you apply it? Please visit a salon professional to have proper installation of the Beaded Weft. If you are a salon professional, please be sure to get certified in this method by Glam Seamless to not only earn more money but not damage your clients hair and ensure you are doing the most up to date method that is safe for your clients hair.
Glam Seamless can help you with every step! All the tools needed can be found on our site, all it takes is practice. One thing that differs from a machine-tied weft is that you cannot cut the hand-tied weft to fit. If the weft exceeds the needed length of the targeted track, then merely fold over the end and double-up the weft to the length that is needed. If the hand-tied weft gets cut, the weft will unravel. If you prefer something you can customize make sure you check out our machine tied wefts here.
Tools Needed:
- 1 or 2 Traditional Bundles of Hand-Tied Wefts!
- Beads that match your client's hair
- Plier
- Looper
- Duck Clips
- Curved Needle and Thread
Parting
The first thing you need to do is start with super clean sections. There is nothing more important than making sure that your part is as clean as possible and flyaway free! Some stylists start with a horseshoe-shaped section at the crown and others choose to start at the nape of the neck. You may also choose to lightly spritz your sectioning with hairspray and sectioning clips to really keep all flyaways down.
Foundation/Beads
Start by taking your Glam Seamless Looper and preloading it with five microbeads. Our microbeads have a silicone coating on the interior to prevent any excess slippage.
- You want to install beads a half inch apart from each other - as this will serve as your foundation for the extensions.
- You will take the looper and slide the bead onto the hair section.
- You want to have enough hair to provide a base but also enough room for the curved needle to slide through.
- IF there is too much resistance getting the hair onto the looper it is an indication that there is too much hair in your section.
- You then want to take your pliers and slide the bead up toward the scalp to be a snug fit but not uncomfortable. Press down firmly enough to secure the bead but not so tight that your needle won’t pass through.
- Remember to clamp in the direction of the hair growth! You don’t want to tighten the plier while holding the hair up - but rather - while holding the section of hair down.
- The Beaded Row technique will also have thread looping each bead together. You will need to string the thread through the beads like a clothesline. This is to reduce the risk of beads sliding down by providing extra support. This would be ideal if a client has very fine/thin hair. Once this is done you will be ready to sew in your weft.
Sew In
Once you go all the way around the horseshoe you are done creating the base and you are ready to sew in your weft. You will need your C shaped or curved needle to install the extensions onto the foundation you have just created.
- Measure and cut the hair weft as needed.
- Remember hand-tied wefts will unravel when cut and you will have to reseal those ends.
- Use duck clips to help keep the weft exactly where you need. If you are lucky enough to have an assistant have your assistant hold the weft in place.
- You want to triple, Yes I said TRIPLE stitch the very first section of hair onto that first bead.
- This bead has the most wear and tear over time and is where you will find most extensions start to lift. It's super important to thoroughly tie the weft onto the FIRST and LAST bead of a section to ensure a FLAT lay. Ensuring that the extension stays as FLAT as possible is KEY to a long lasting installation!
- Continue stitching until through the weft and bead until you are at your last bead.
- Remember to TRIPLE stitch the last corner bead to increase the longevity of the installation.
And that’s it! You are done installing.
Have more questions about Glam Seamless Hair Extensions? Our Support Team consists of experts who would love to chat with you! (No, really. They’re hairstylists. They actually love to chat!) You can reach Support at (888) 401-6161 or support@glamseamless.com
Sources: http://hair2inspire.blogspot.com/2011/10/difference-between-hand-tied-wefts-and.html